
Set up network server for Codemeter
Last change: Jul 30, 2024
You can easily make the licenses for the KELLER software stored on a CmStick ("USB dongle") available in the network.
To do this, you either need a server or you can set up any PC in the network accordingly. In a classroom, the teacher's PC is often the best choice.
The WiBu Codemeter Runtime must be installed on the selected server or PC. When installing the KELLER software, this is installed automatically, alternatively you can download the corresponding installation file directly from WiBu (https://www.wibu.com).
In order to release the license for the KELLER software in the local network, the so-called network server must be activated. To do this, call up the WiBu WebAdmin and make the following settings there:
Use the "Settings" tab to call up the "Server" sub-item and continue from there to "Server access":
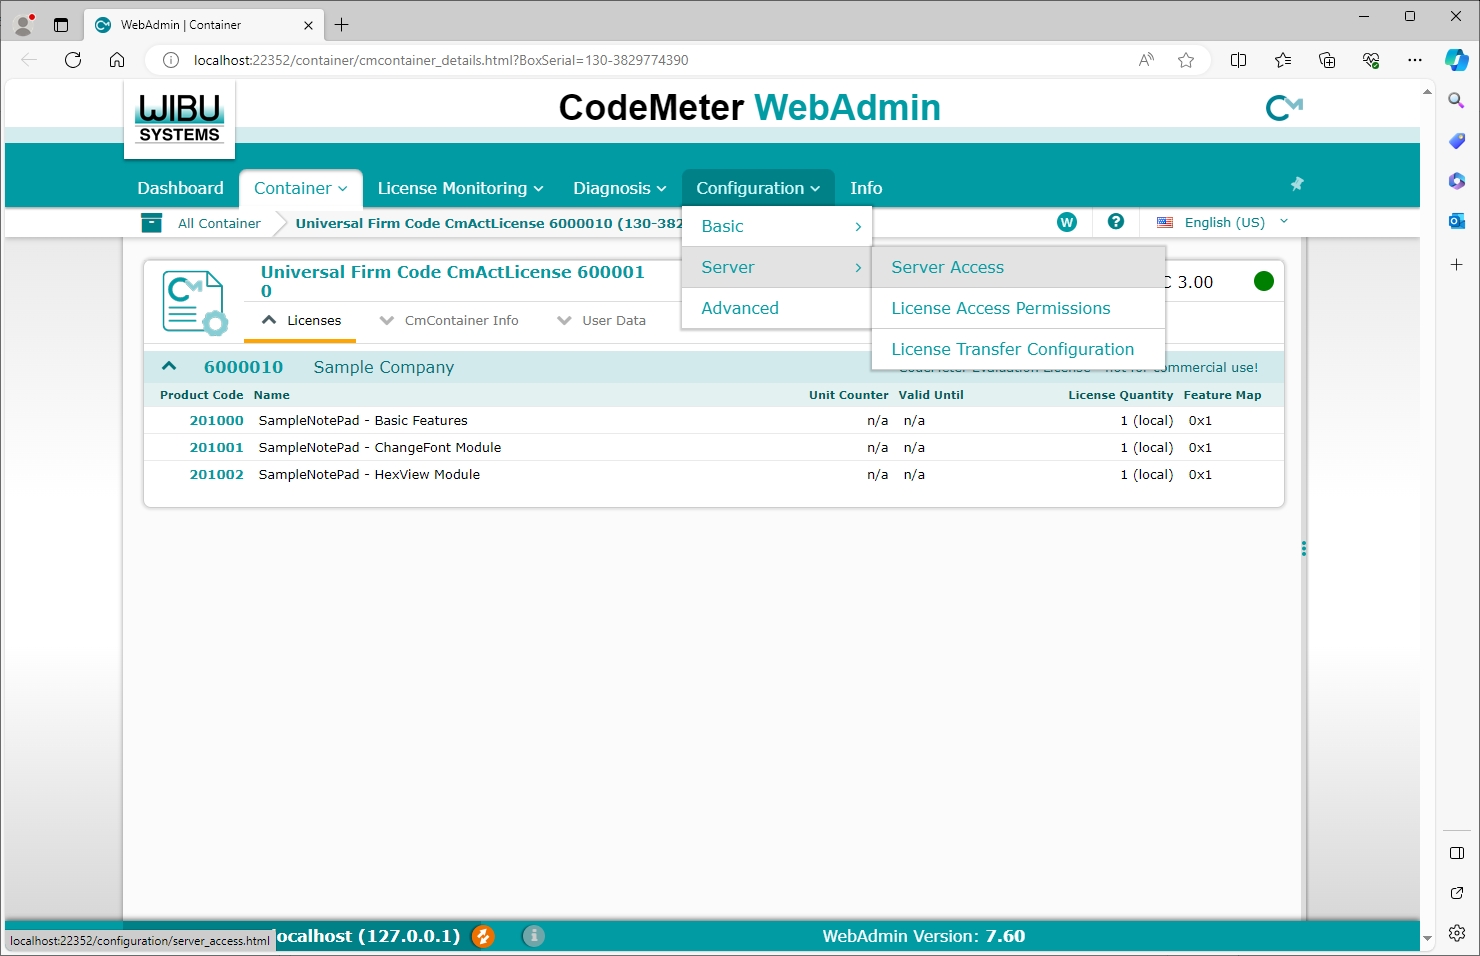
Then activate the “network server” there and confirm the changes by clicking “Apply”:

Of course, the CmStick with the license for the KELLER software must now be connected to the server or selected PC.
From now on, all clients in the same (local) network as the server should be able to use the license for the KELLER software.
Hint: If you install the Codemeter Runtime via the corresponding installation file from WiBu, you can select this "network server" mode during the installation of the current versions of this Runtime. This is therefore particularly advantageous when using a stand-alone server.
Important: Please note that there should only ever be one such network server in your network. If you activate this mode on all PCs in a classroom, for example, this will cause problems during operation.